First Steps
Installing
The installation process should be fairly easy to take care of, using poetry:
However, this is only the first step in the process. As the script works through the alto2txt collections, you will either need to choose the slower option — mounting them to your computer (using blobfuse) — or the faster option — downloading the required zip files from the Azure storage to your local hard drive. In the two following sections, both of those options are described.
Connecting alto2txt to the program
Downloading local copies of alto2txt on your computer
This option will take up a lot of hard drive space
As of the time of writing, downloading all of alto2txt’s metadata takes up about 185GB on your local drive.
You do not have to download all of the collections or all of the zip files for each collection, as long as you are aware that the resulting fixtures will be limited in scope.
Step 1: Log in to Azure using Microsoft Azure Storage Explorer
Microsoft Azure Storage Explorer (MASE) is a great and free tool for downloading content off Azure. Your first step is to download and install this product on your local computer.
Once you have opened MASE, you will need to sign into the appropriate Azure account.
Step 2: Download the alto2txt blob container to your hard drive
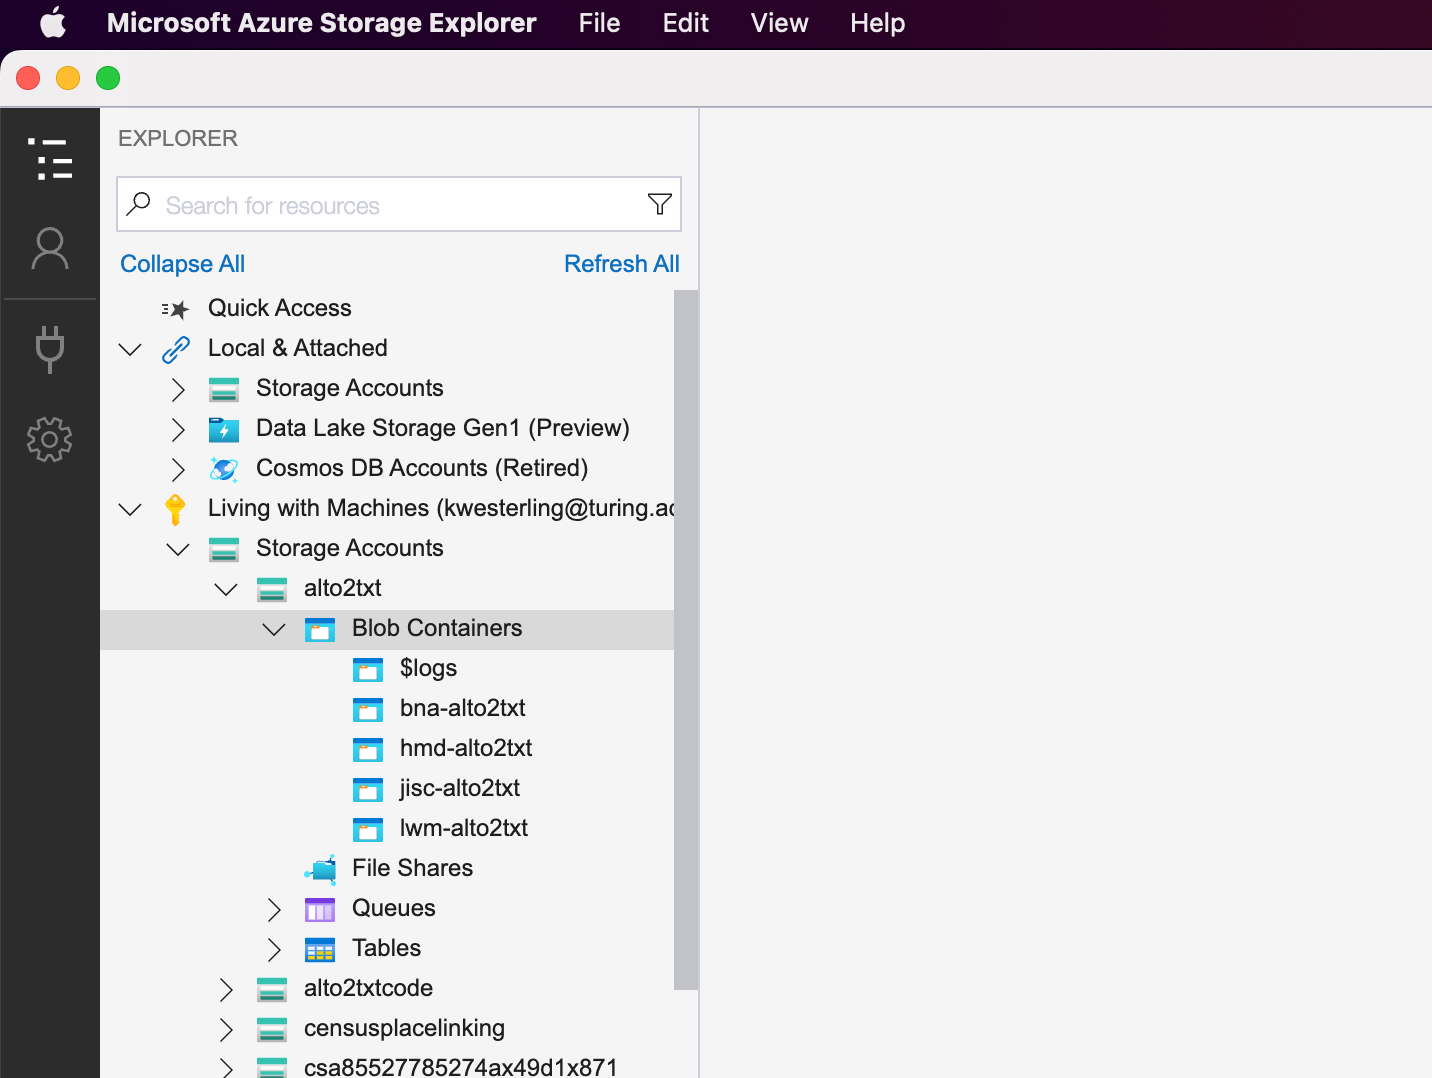
On your left-hand side, you should see a menu where you can navigate to the correct “blob container”: Living with Machines > Storage Accounts > alto2txt > Blob Containers:
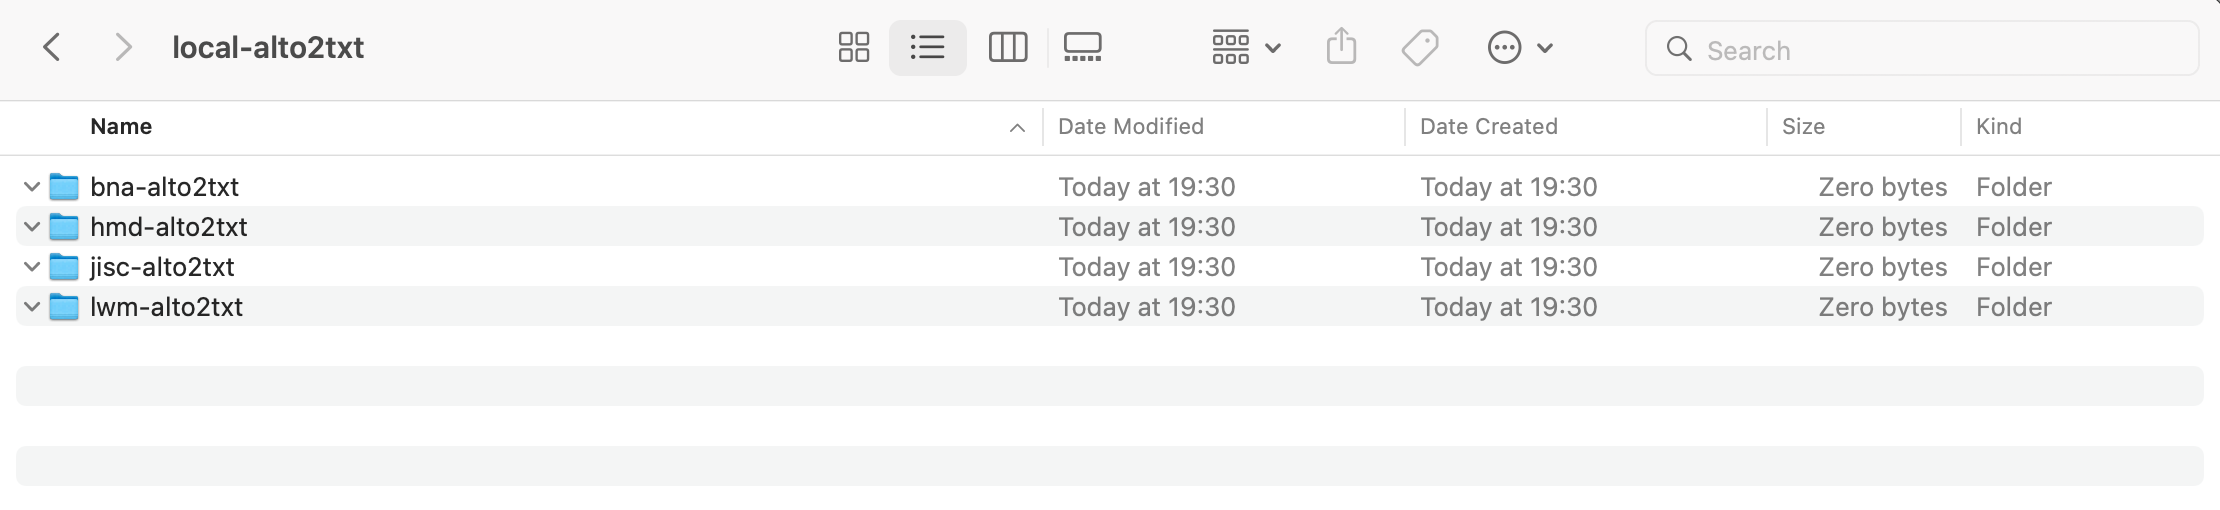
You will want to replicate the same structure as the Blob Container itself in a folder on your hard drive:
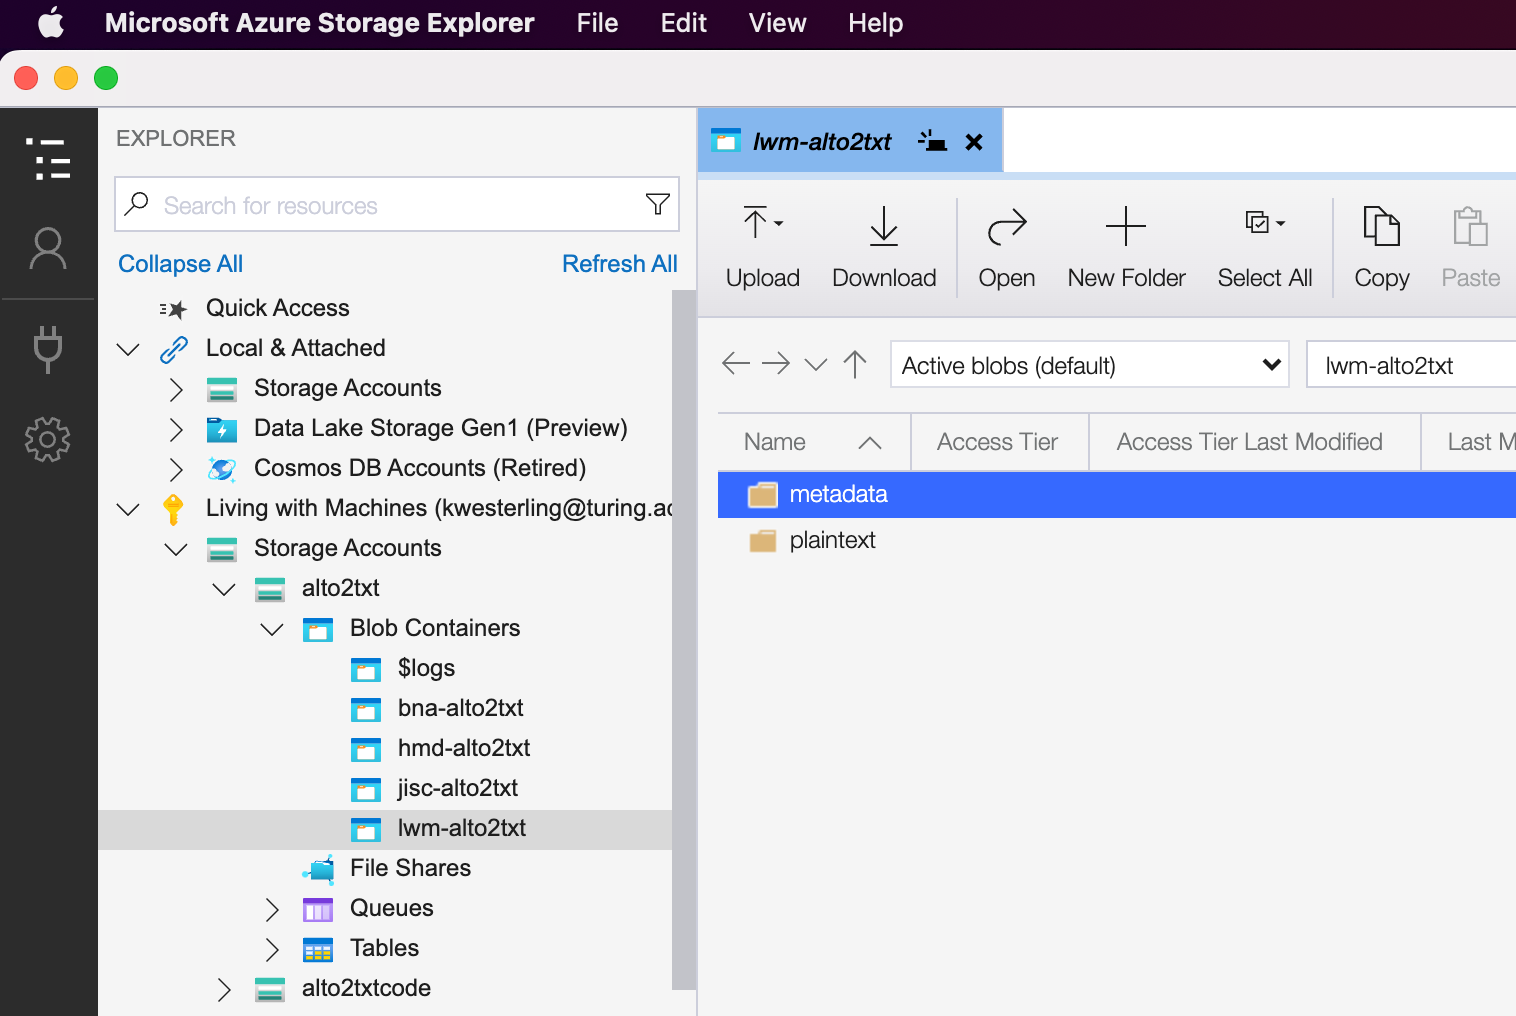
Once you have the structure set up, you are ready to download all of the files needed. For each of the blob containers, make sure that you download the metadata directory only onto your computer:
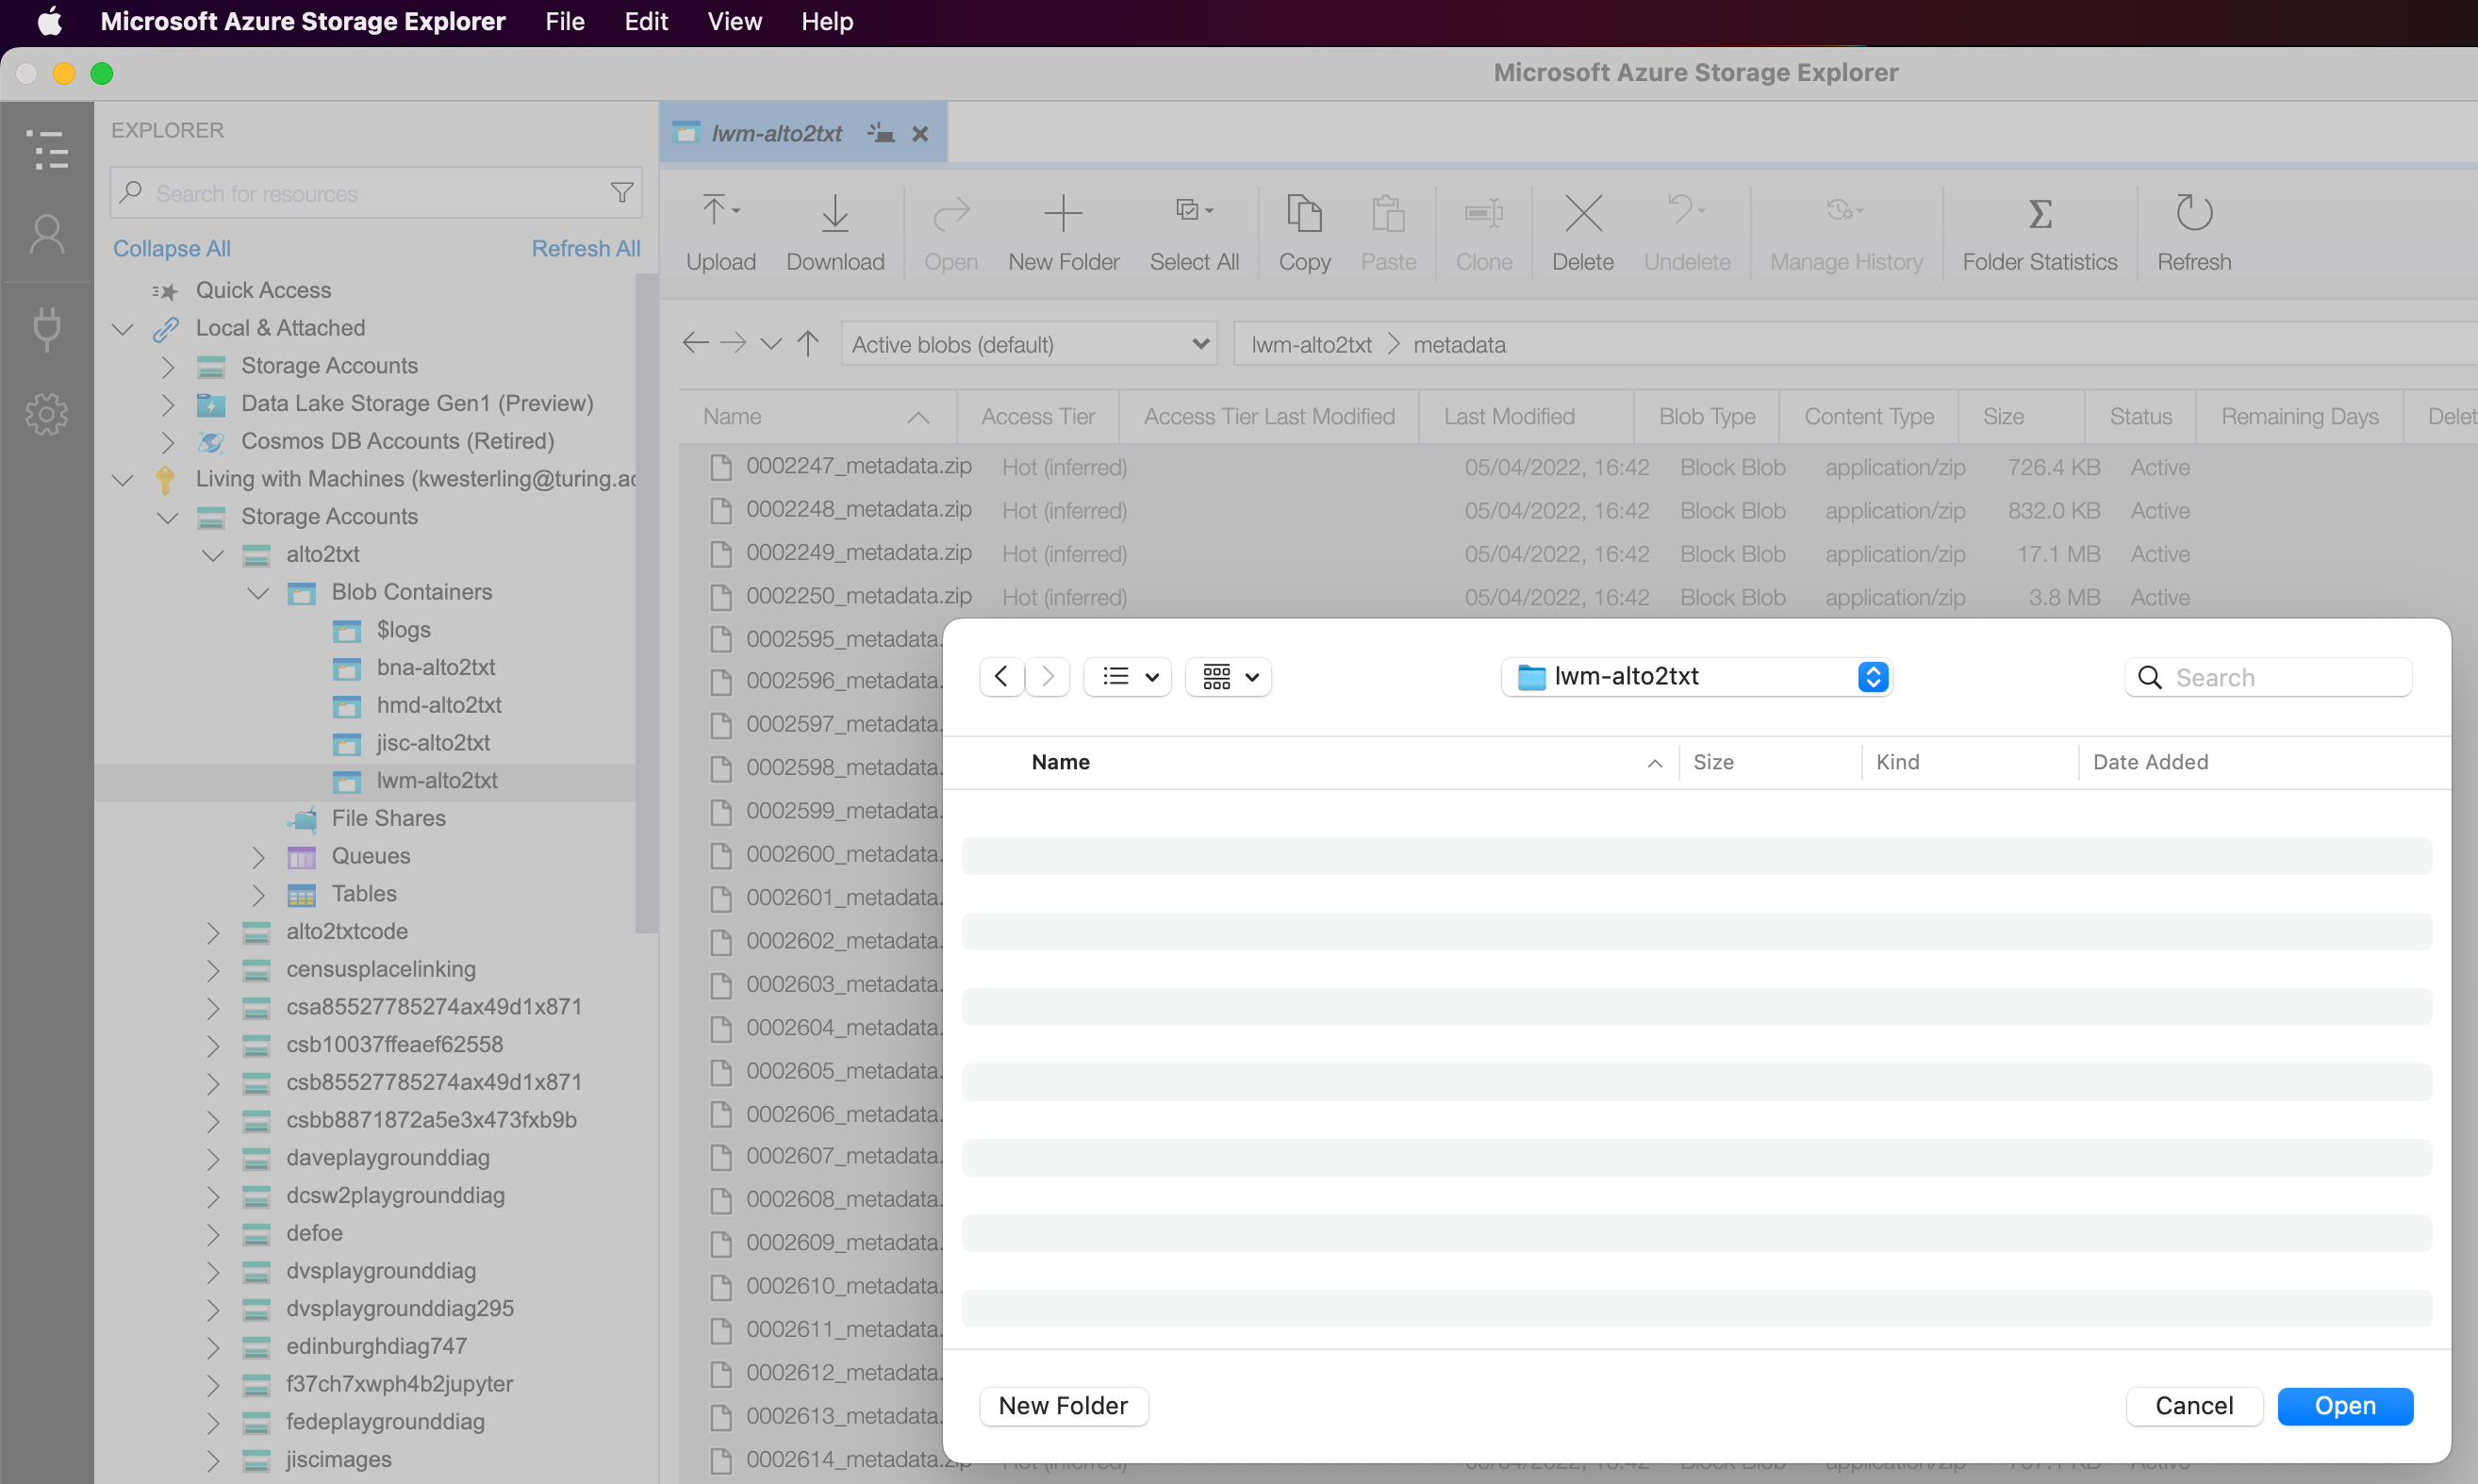
Select all of the files and press the download button:

Make sure you save all the zip files inside the correct local folder:
The “Activities” bar will now show you the progress and speed:

Mounting alto2txt on your computer
This option will only work on a Linux or UNIX computer
If you have a mac, your only option is the one below.
Step 1: Install BlobFuse
Follow the instructions for installing BlobFuse and the instructions for how to prepare your drive for mounting.
Step 2: Set up SAS tokens
Follow the instructions for setting up access to your Azure storage account.
Step 3: Mount your blobs
TODO #3: Write this section.
Note that you can also search on the internet for ideas on how to create local scripts to facilitate easier connection next time.